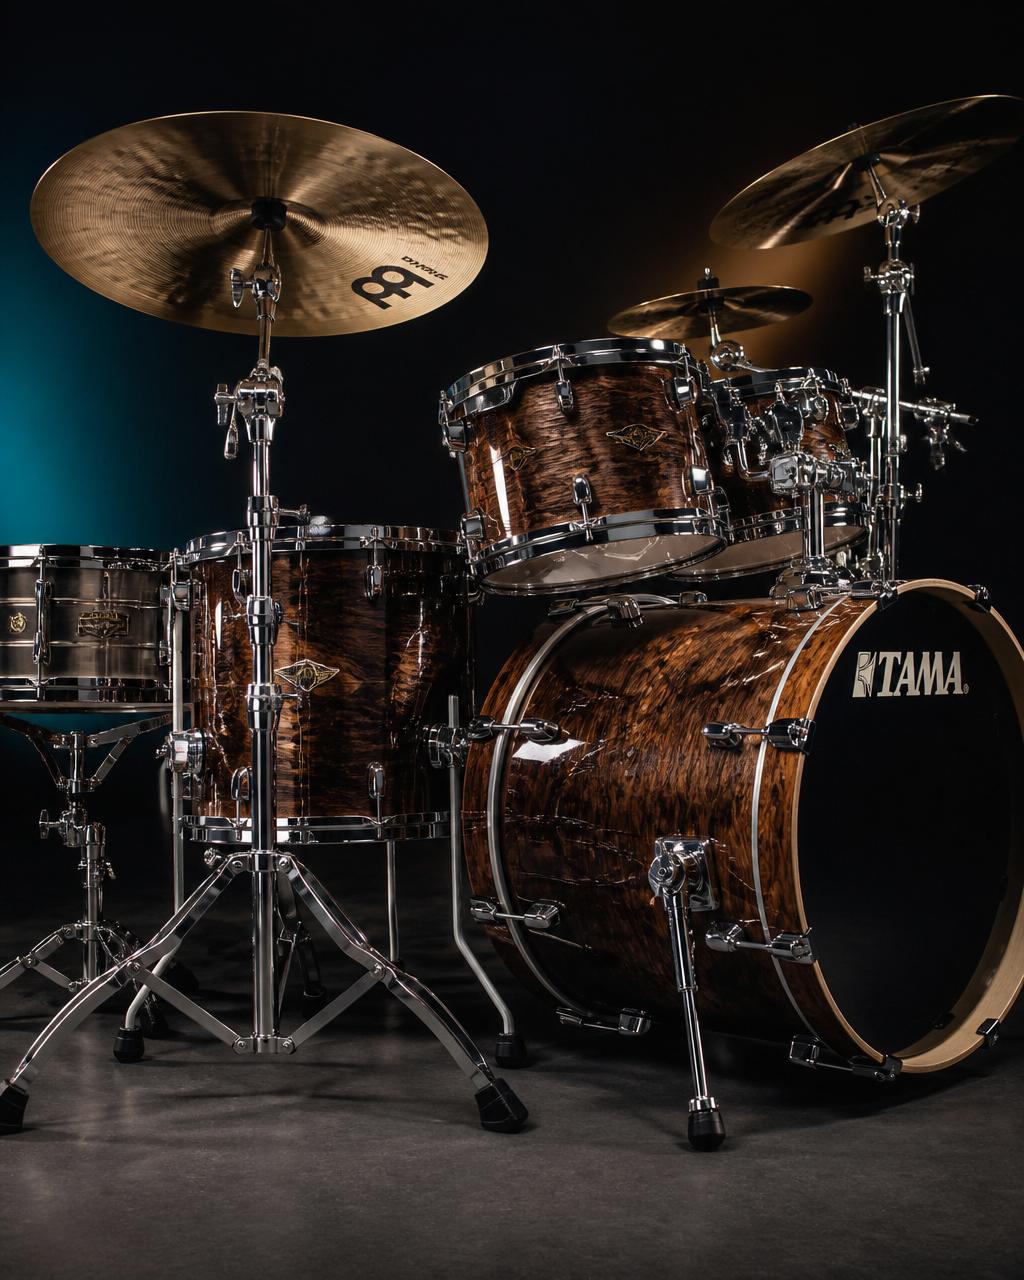
Drum Repair
Six pro-level guides. Real photos, plain-english steps, and the one trick each fix hinges on. Tap a card to open the walkthrough.
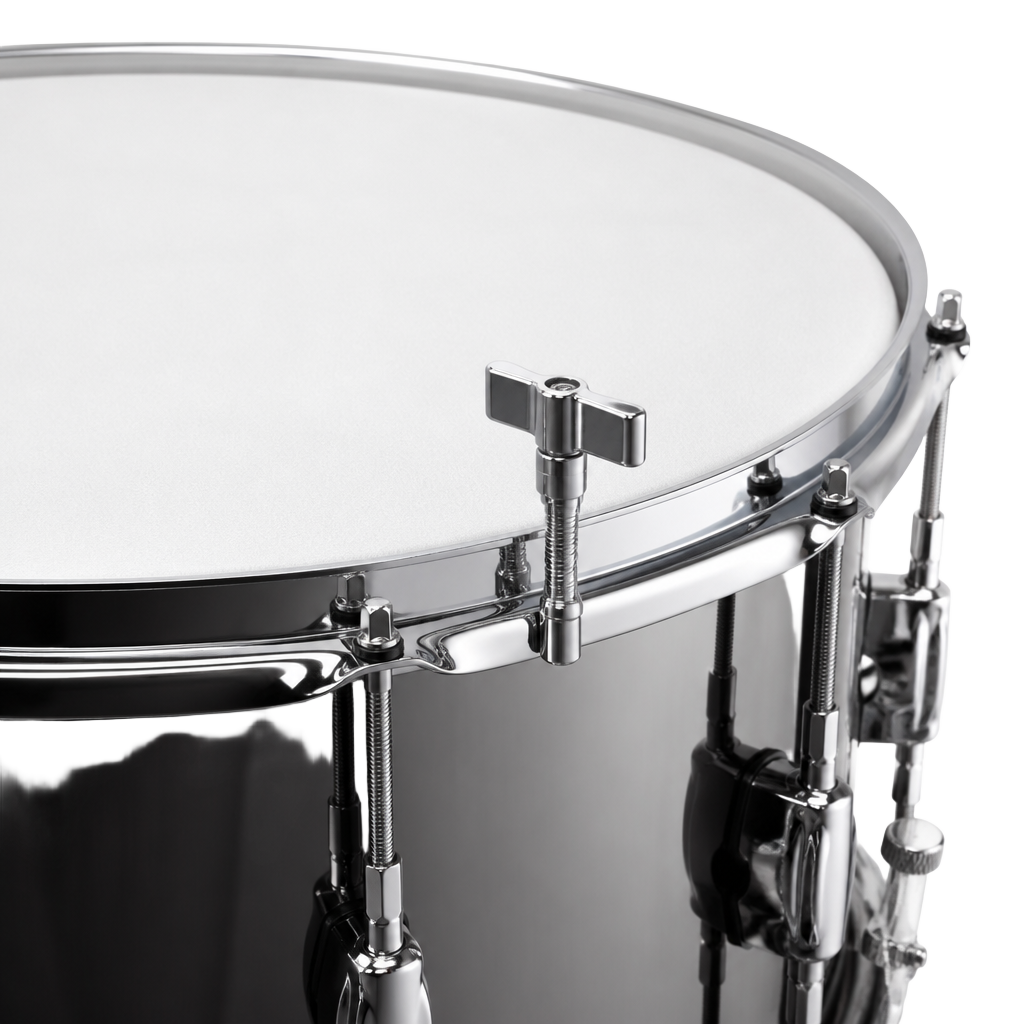
Dented, dull, or dead head? Swapping it is the single biggest tone upgrade you can do. Do the batter (top) head every 3–6 months if you're playing hard.
Loosen each tension rod a half-turn at a time, moving across the drum (never around the circle). This keeps the hoop flat and avoids warping.
Wipe the bearing edge with a dry cloth. Look for dents, glue residue, or a rough spot — that's why your last head died early.
Drop it on, press down firmly in the middle with your palm for 10 seconds to seat it. You'll hear a crackle — that's normal.
Snug each rod by hand until the wrinkles vanish. Now switch to the key and go a quarter-turn per rod in a star pattern until you hit pitch.
Press firmly in the middle again. Retune. Repeat once more. This 'seats' the collar and prevents it from going flat after your first gig.
Match the same brand + model you had before if you liked the sound. If you didn't — coated Ambassadors for warmth, clear Emperors for punch.
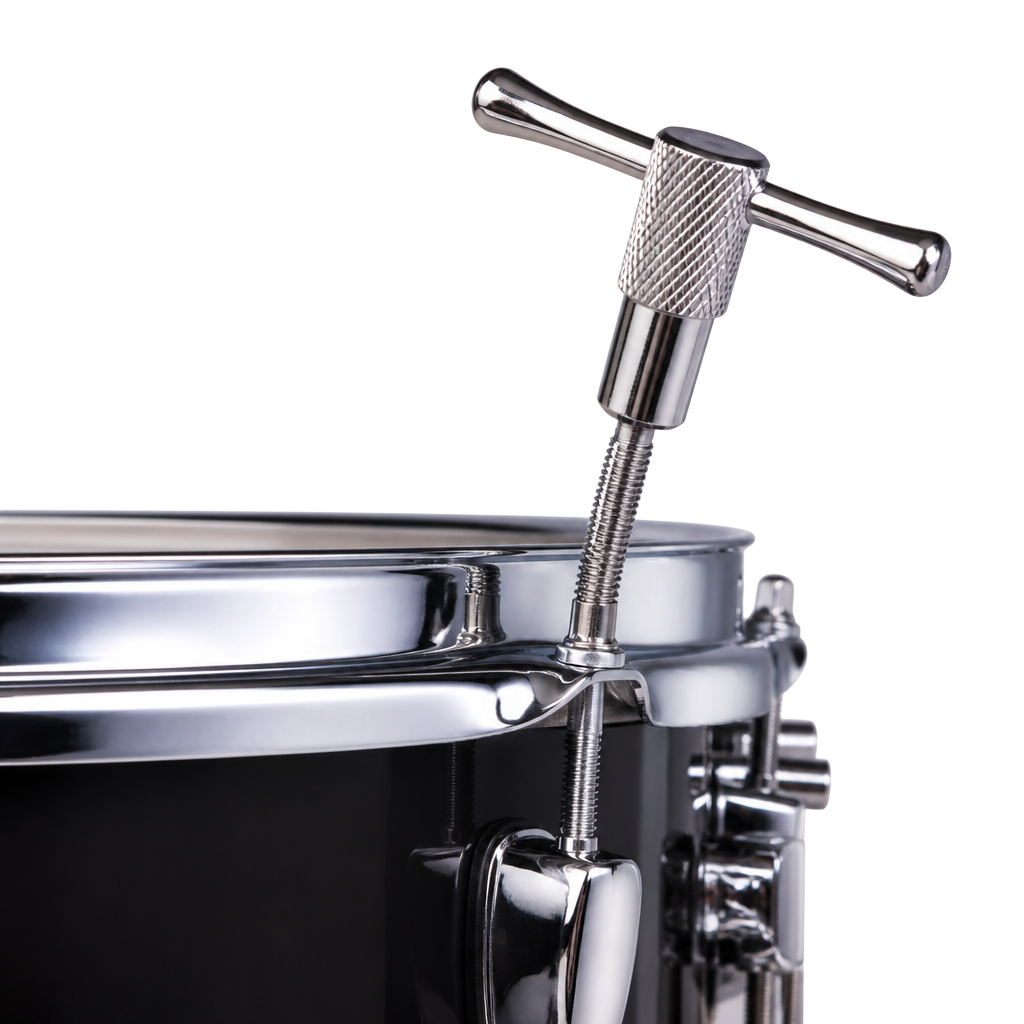
A well-tuned $200 kit slaughters a badly-tuned $2,000 kit. The goal: every tension rod producing the exact same pitch when you tap next to it.
Tap the drum. Too flat = tighten. Too high = loosen. Toms usually sit a fourth apart, snare at whatever cracks best for you.
One inch in from the rim, next to each tension rod. Listen for the pitch of that lug.
Any rod that sounds lower = tighten a hair. Any rod that sounds higher = loosen a hair. Work in a star pattern until every lug rings the same note.
Same-pitch top and bottom = maximum sustain. Bottom higher = more attack. Bottom lower = fatter thud. Try all three.
Muffle *after* you tune, never before. A tuned drum with a small piece of gel beats a strangled drum every time.
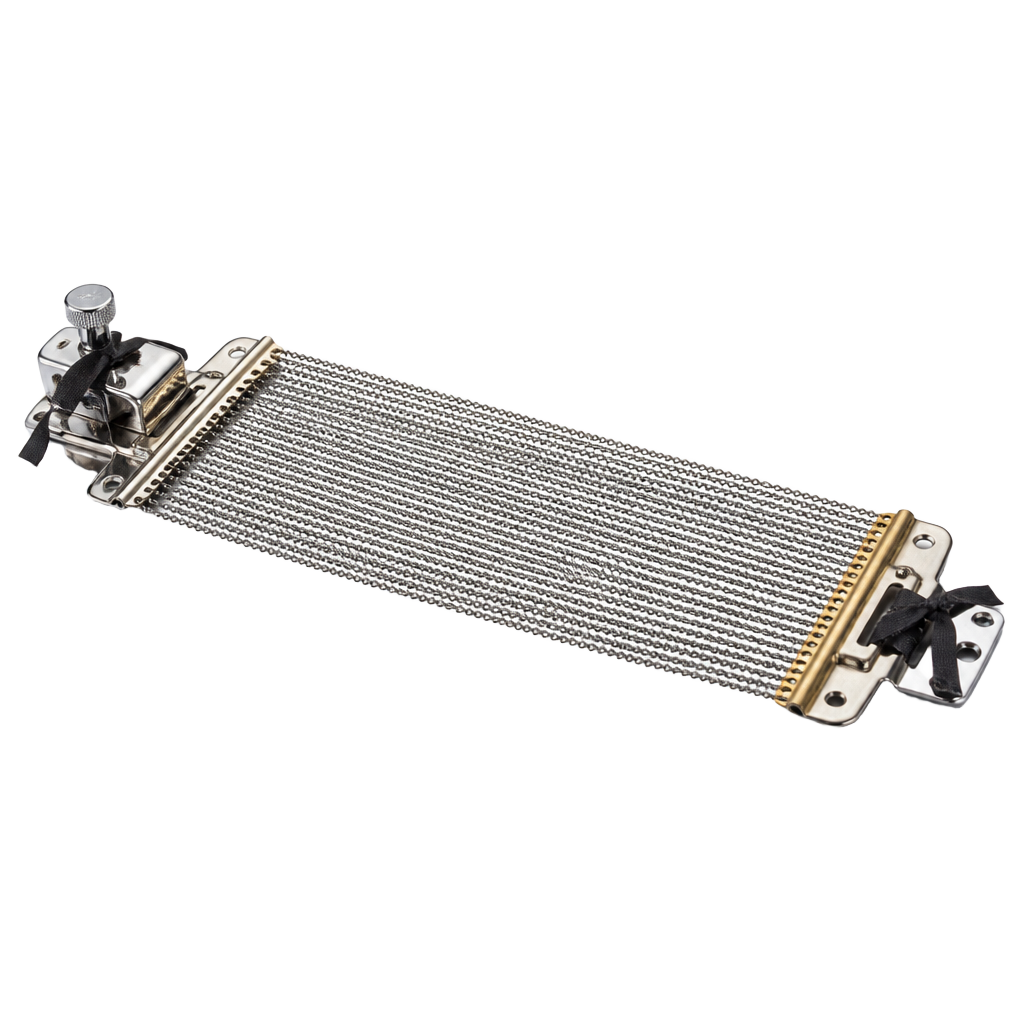
Broken strands, uneven buzz, or a dead sizzle when you stroke the head? New wires bring the snap back in five minutes of turning and two minutes of tying.
Flip the throw-off down so the wires go slack. Loosen the strainer and butt plate screws until the old wires drop free.
Rest the batter side on a padded surface. You'll be working on the resonant side where the wires sit.
Feed each strap through the strainer and butt plate. Center the wires — they should sit exactly in the middle of the reso head.
Snug both sides until the wires just touch the head with the throw-off engaged. Too loose = choked. Too tight = strangled.
Throw the strainer on. Play a soft ghost note. Hear a crisp 'ssh'? Perfect. Only a thud? Tighten a hair on the strainer knob.
42-strand wires = super sensitive, jazzy. 20-strand = focused, articulate for rock. Try both — they cost less than a pizza.
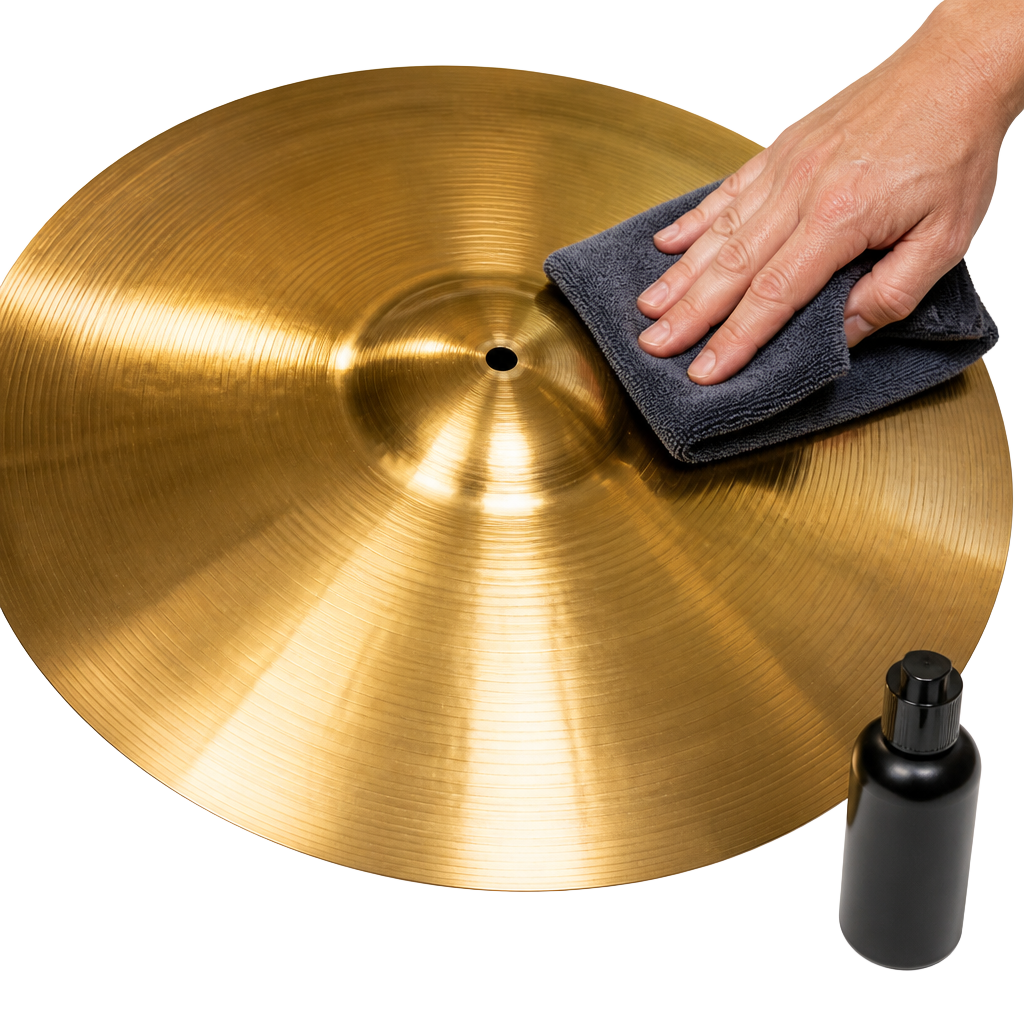
Cymbals sound different when they're crusted with grime, and cracks start at neglected edges. A quick monthly wipe extends their life by years.
Polishing removes the aged look and can strip lathe grooves. If your cymbals sound the way you like, just clean the grime — leave the patina.
Never scrub across the grooves — you'll dull the wash. Always follow the lathe pattern outward from the bell.
Any moisture left in the pinholes = corrosion. Buff dry with a fresh microfiber.
Missing felt or a bare stand rod is the #1 cause of edge cracks. Every cymbal needs a plastic sleeve on the rod and felts above and below.
Never use household metal polish or steel wool. Brasso etches the finish. Cymbal-specific cleaners like Sabian Safe & Sound or Groove Juice are the only safe bet.
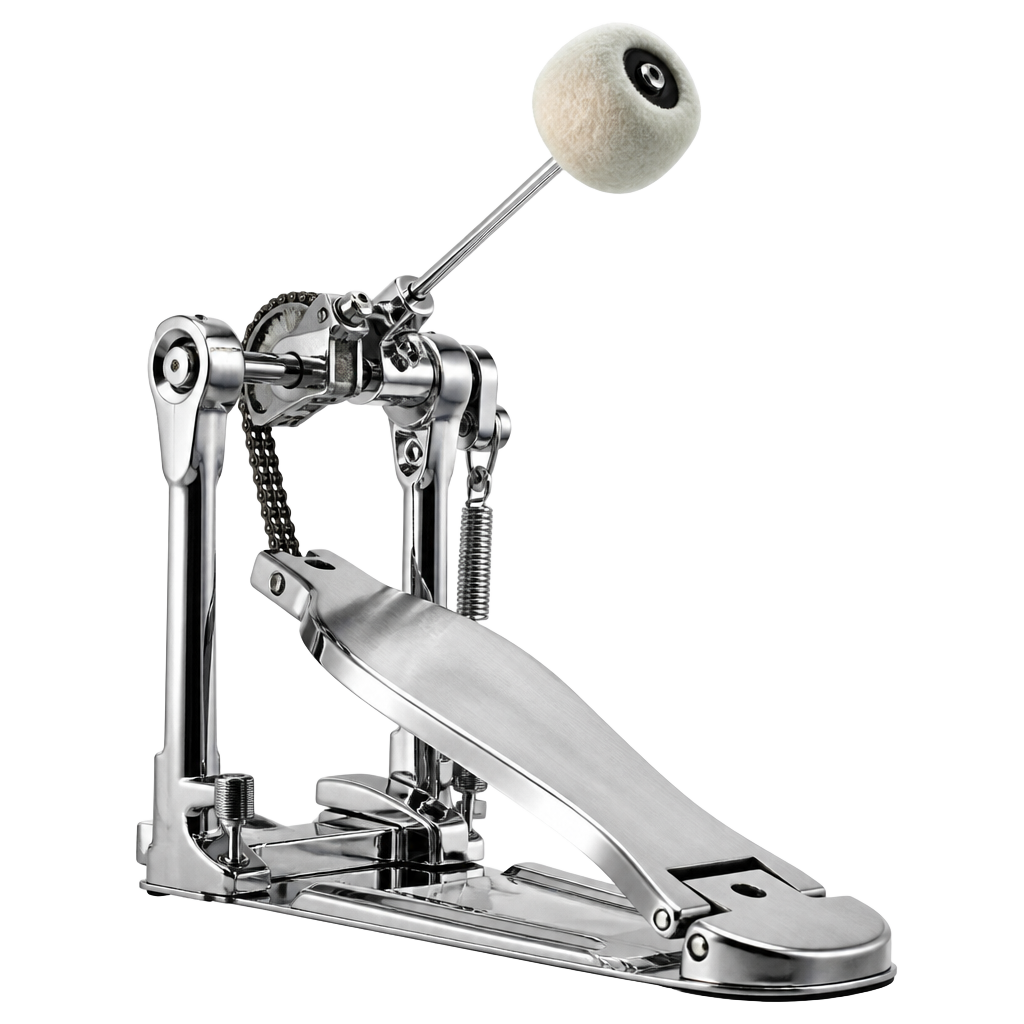
Squeaks, sluggish return, or a wobbly beater? Ten minutes with a drum key and a drop of oil and it'll feel like a new pedal.
Unclamp the pedal and set it beater-up on a soft towel so you can see the moving parts.
One drop only on each pivot. Work the pedal 20 times so the oil spreads. Wipe any excess so it doesn't grab dust.
It should be taut with zero slop when you press. If it clicks or slaps, tighten the beater-height post a quarter turn.
Looser spring = softer, jazzy touch. Tighter = fast metal doubles. Small changes make a huge difference — quarter-turn at a time.
A loose beater rod robs power. A loose baseplate makes the whole pedal walk. Check both before every session.
If the pedal still squeaks after oiling, the noise is almost always a dry spring, not the hinge. One drop where the spring meets the rocker, done.
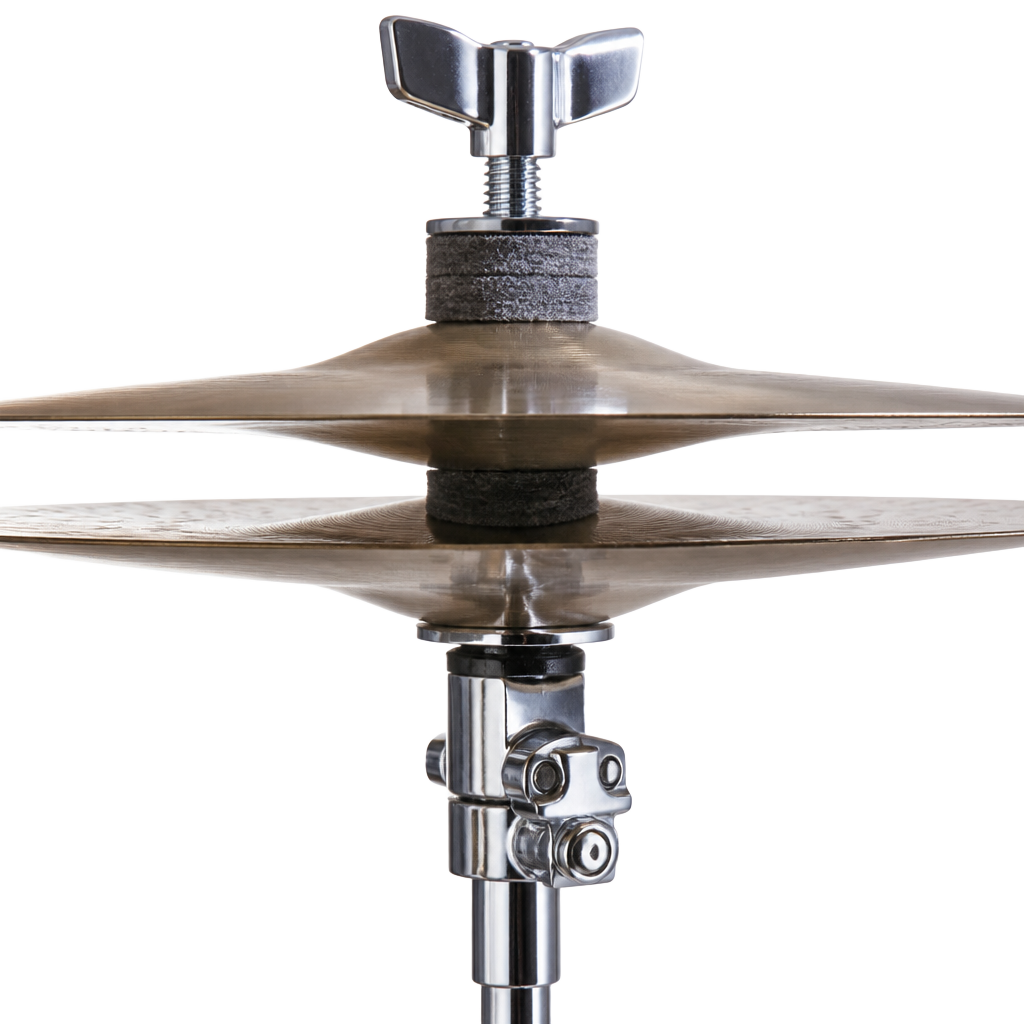
Top cymbal slipping mid-song, felts crushed to paper, or a mystery rattle? The clutch is nearly always the culprit. Two-minute fix.
Loosen the top locking nut and slide the whole clutch off. Keep the parts in order so you remember how they stack.
If a felt is thinner than a nickel, replace it. Fresh felts protect the cymbal and keep the pitch open, not choked.
About a finger's width between the closed hi-hat cymbals gives a crisp 'chick'. Wider = sloppier, splashier sound.
Tighten the top nut against the clutch body — not just against the cymbal. If you only clamp the cymbal, it'll walk loose in one song.
Keep spare felts and a plastic sleeve in your stick bag. A cracked cymbal at a gig is almost always because someone forgot one 25-cent part.